Over-engineering an RGB LED strip controller: let’s write a custom programming language and instruction set
21-3-2021
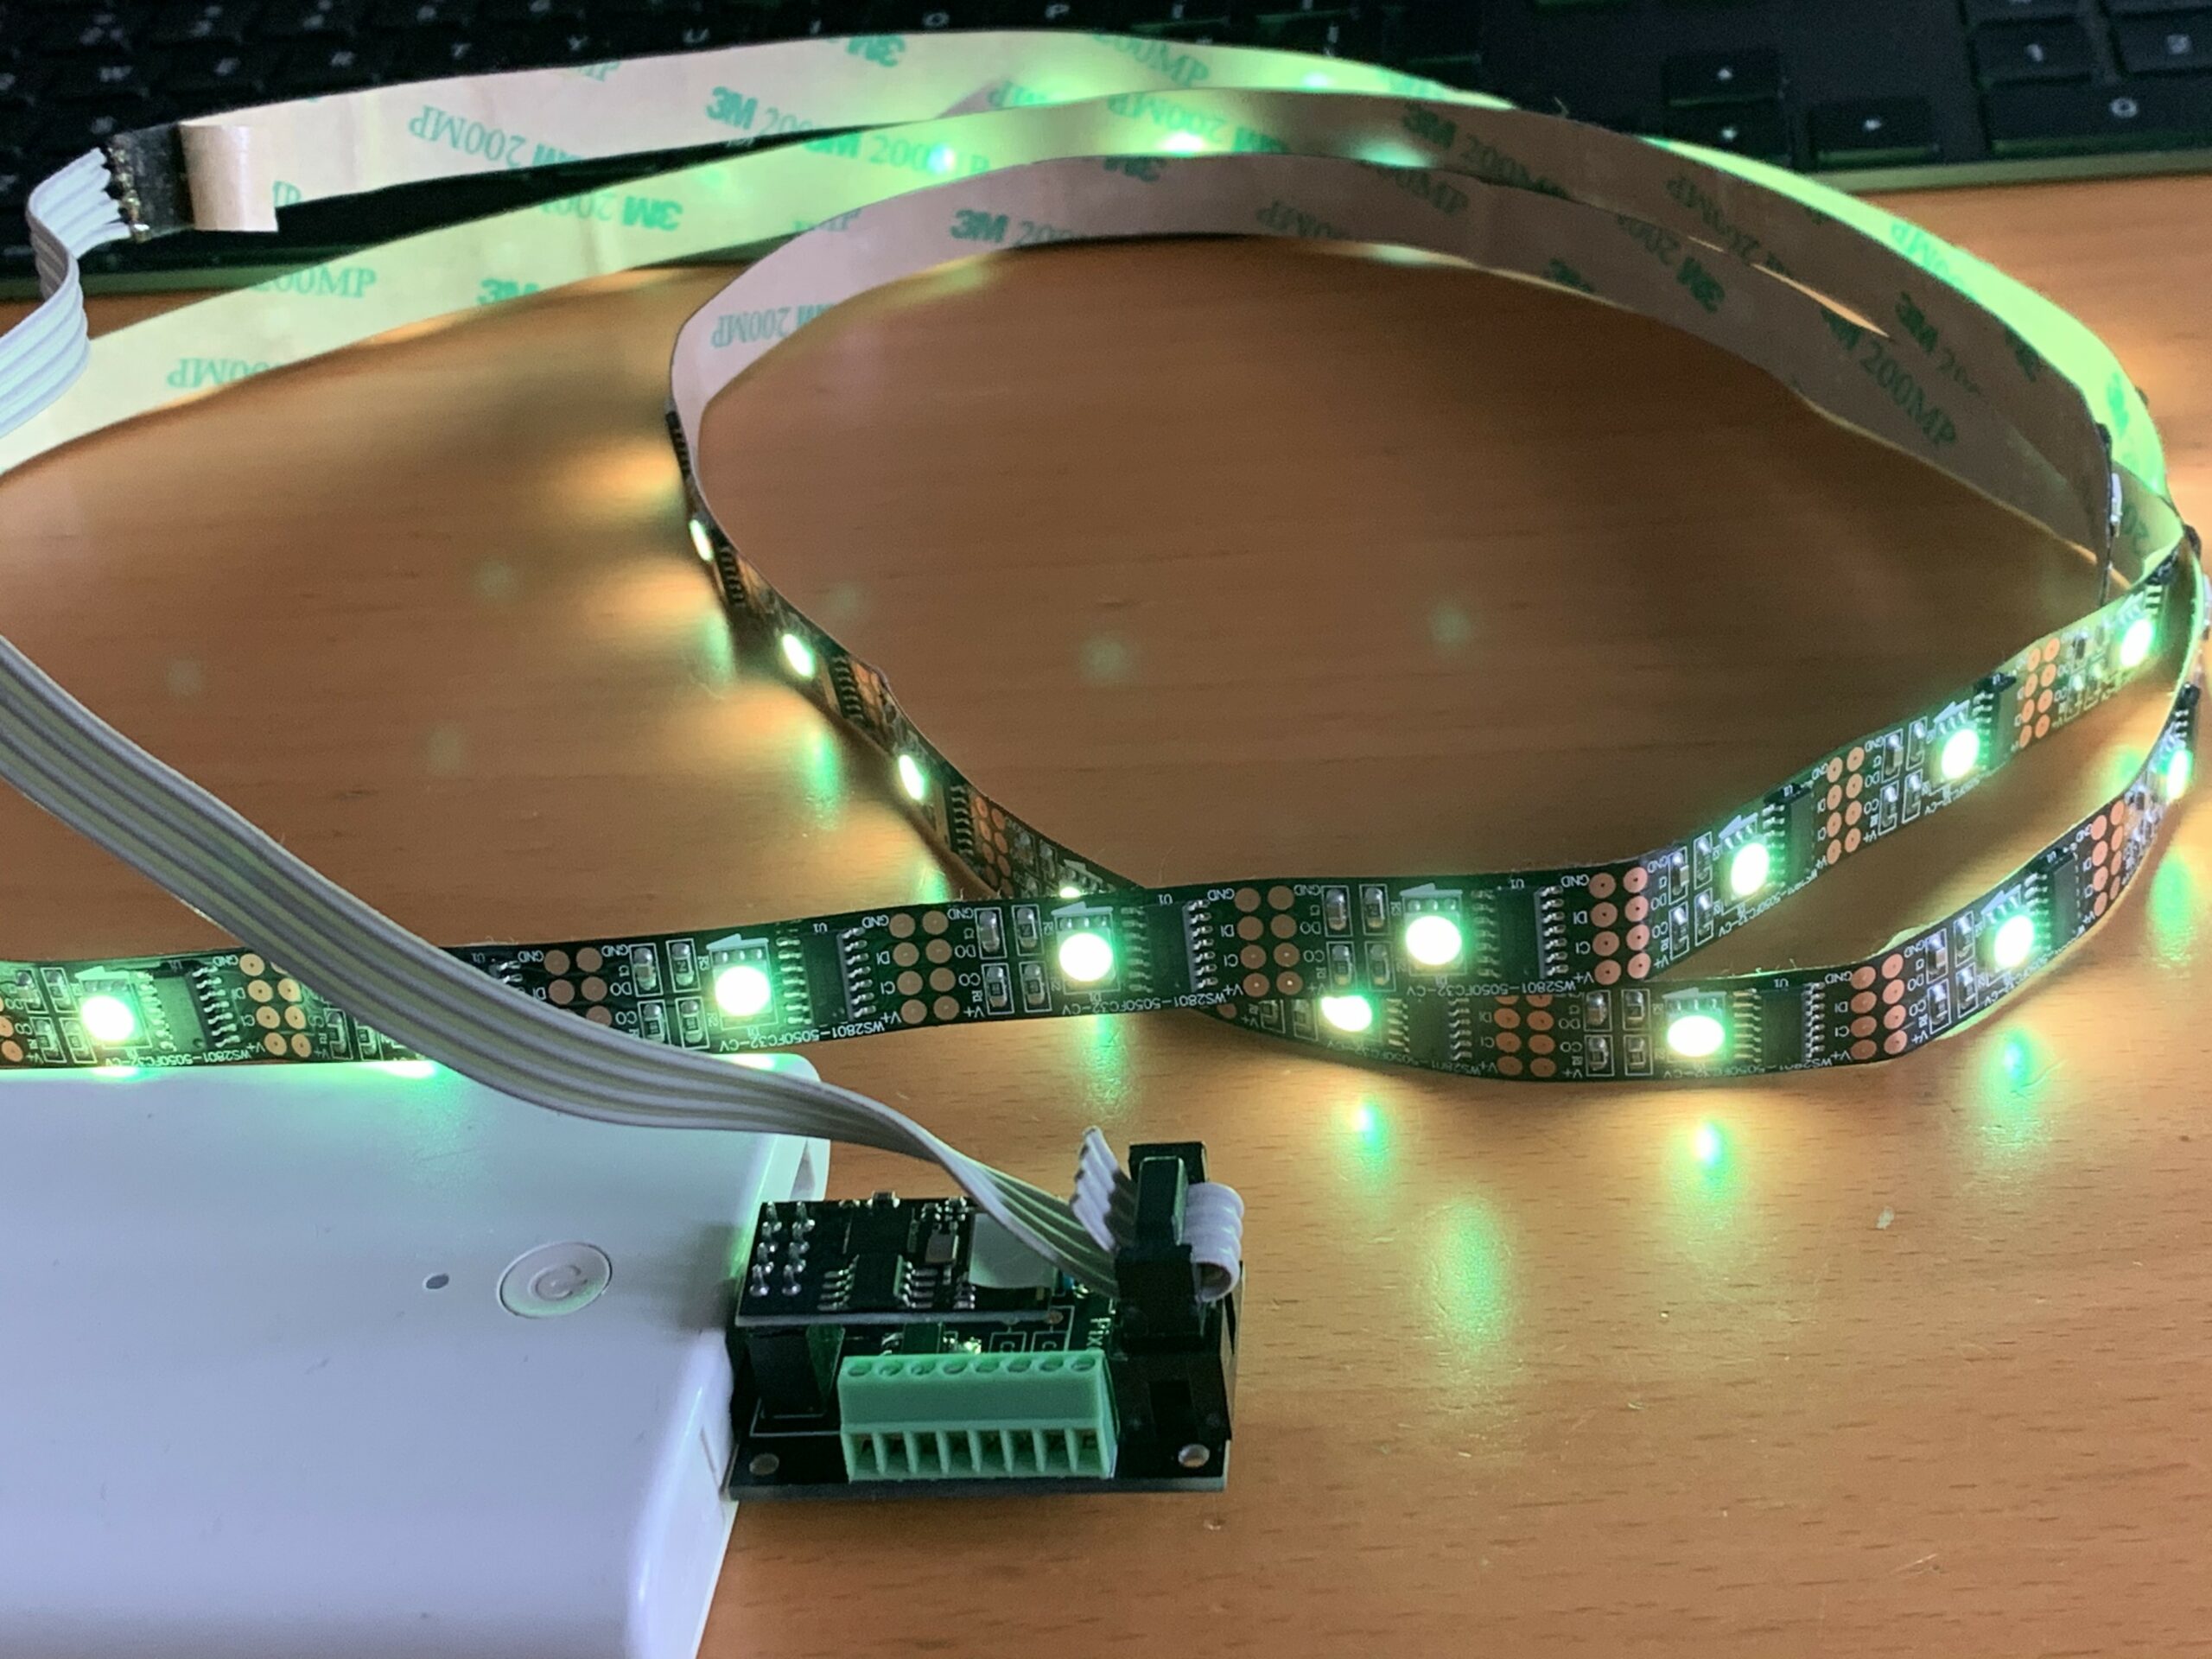
Digital RGB LED strips are strips of LED lights that can be controlled individually, which makes them really versatile for use in e.g. home automation. Throughout my home there are several strips, each adapting their hue to the current time of day and showing all sorts of information, such as the current time and rain forecasts using radar data fetched online. Pretty neat! But how do you get these strips to show more than just a solid color (i.e. visual effects or animations), and actually use them as ‘dashboards’ in a scalable and maintainable way? In this project, I start out with a simple and robust (but not very powerful) solution, and end up with a slightly over-engineered, but very flexible solution to this problem involving a custom programming language and bytecode instruction set.
Approach 1: the basic, robust solution
The recommended approach for controlling LED strips like this is by using ESPHome. ESPHome is a service that allows you to compile custom firmware for ESP8266, which can control LED strips (among many other things!) and allows for easy integration with Home Assistant. The main benefit of ESPHome is easy device management: remote updating and reconfiguration is fully automated. Swapping out a broken ESP8266 or board is as easy as downloading the right firmware image from ESPHome, flashing it over USB, and swapping the hardware. The ESPHome firmware allows color and brightness to be set (from e.g. Home Assistant) for all LEDs at the same time. One way to make an LED strip into a more informative ‘dashboard’ would be to use a feature called ‘segments’ which allows separate colors to be set for different segments of the strip. Rudimentary, but very stable and easy to use.
Approach 2: a more customizable but glitchier approach
To show more than just contiguous blocks of different colors on a strip, we need a custom piece of software that can tell the LED strip what to show. Ideally we still use ESPHome and Home Assistant for control and provisioning. The ESPHome firmware allows for direct control of LED strips by third-party software through the ‘WLED’ feature. If you enable the ‘WLED’ effect for an LED strip (from Home Assistant), it will start listening for UDP packets that contain individual colors for the LEDs and show those! This means that all that is needed to show custom information is a computer (e.g. a Raspberry Pi or even an ESP8266) somewhere in your network that broadcasts these UDP packets.
I wrote a very simple daemon in Rust that generates LED ‘images’ with different contents (e.g. gradients, a ‘clock’ displayed as dots, or rain forecast data fetched from the Dutch Buienradar). This works quite brilliantly and also still allows me to ‘switch off’ the intelligent dashboards and just show a solid color, or turn the strip off altogether, from Home Assistant.
The downside of this approach is that it doesn’t allow for any animations or visual effects; as the UDP packets are frequently dropped by my Wi-Fi network, sending packets faster than only a few frames per second leads to very glitchy results.
Approach 3: why not create a custom programming language specifically for this…
Ideally, we would like to send short ‘animations’ or videos to the LED strip controller to play back. However, the controllers being ESP8266s have very little memory, making this infeasible rather quickly for longer LED strips: a strip that has 200 LEDs will require 600 bytes per frame so even if we could use all of the user RAM available on the ESP, we could only store about 136 frames (or 2,2 seconds if running at 60 fps is desired). We can’t use the full RAM because (1) there is a whole Wi-Fi and TCP/IP stack to run, and (2) we need to be able to receive a packet while our previous ‘video’ is playing. This means at best we could store about half a second in this way.
A more interesting approach would be to generate the effects on the controller itself. What if we could simply send it a script to execute? Something like this:
for each led "i" {
  set color for "i" to rgb(255, 255, 0);
}
send colors to LED strip;
As the ESP8266 is powerful enough to run e.g. Lua, this seems feasible. To show an animation where each LED is turned on in order to yellow, instead of sending 600 bytes * 200 frames = 120 KiB of data, we can instead send a little program, which we could compile down to only a few bytes, containing a loop and a bit of logic. We could of course use Lua and be done with it, but the Lua interpreter is still quite heavy and, well, it is much more fun to make this yourself!
First, I designed a very simple stack-based “instruction set”. Each instruction is a single byte, where the first nibble (4 bits) determine the instruction type and the next nibble a variant. For instance, 0x0• means “POP byte from stack” where the last nibble determines the number of bytes to pop (conveniently making ‘0x00’ a no-operation). Similary, ‘0x11’ means ‘push a single byte’ (the byte to be pushed is the next byte in the code stream), 0x32 means ‘push the next 8 bytes as two integers’, et cetera. There are also operators (0x8• are binary operators, e.g. 0x80 is ‘add’ and 0x81 is ‘subtract’) and jump instructions. Finally there are special instructions that push the length of the LED strip to the stack (0xe0 = get_length) and to set a pixel (0xe3 = set_pixel).
As an example, consider a simple program that loops from (get_length) down to zero:
E0     (E=special function, 0=get_length; pushes LED strip length to the stack)
71     (7=Unary operator, 1='decrement'; decrements the last value on the stack)
60 01  (6=Jump, 0=If not zero; 01 is the instruction to jump to)
Next, I wrote a simple parser in Rust that could read a simple ‘programming language’ and compile it to the byte code just defined. For example, the program above can be written as:
for(n = get_length) {
};
The equivalent of the example script above in this language would be the following:
for(n = get_length) {
  set_pixel(n-1, 255, 255, 0);
};
blit;
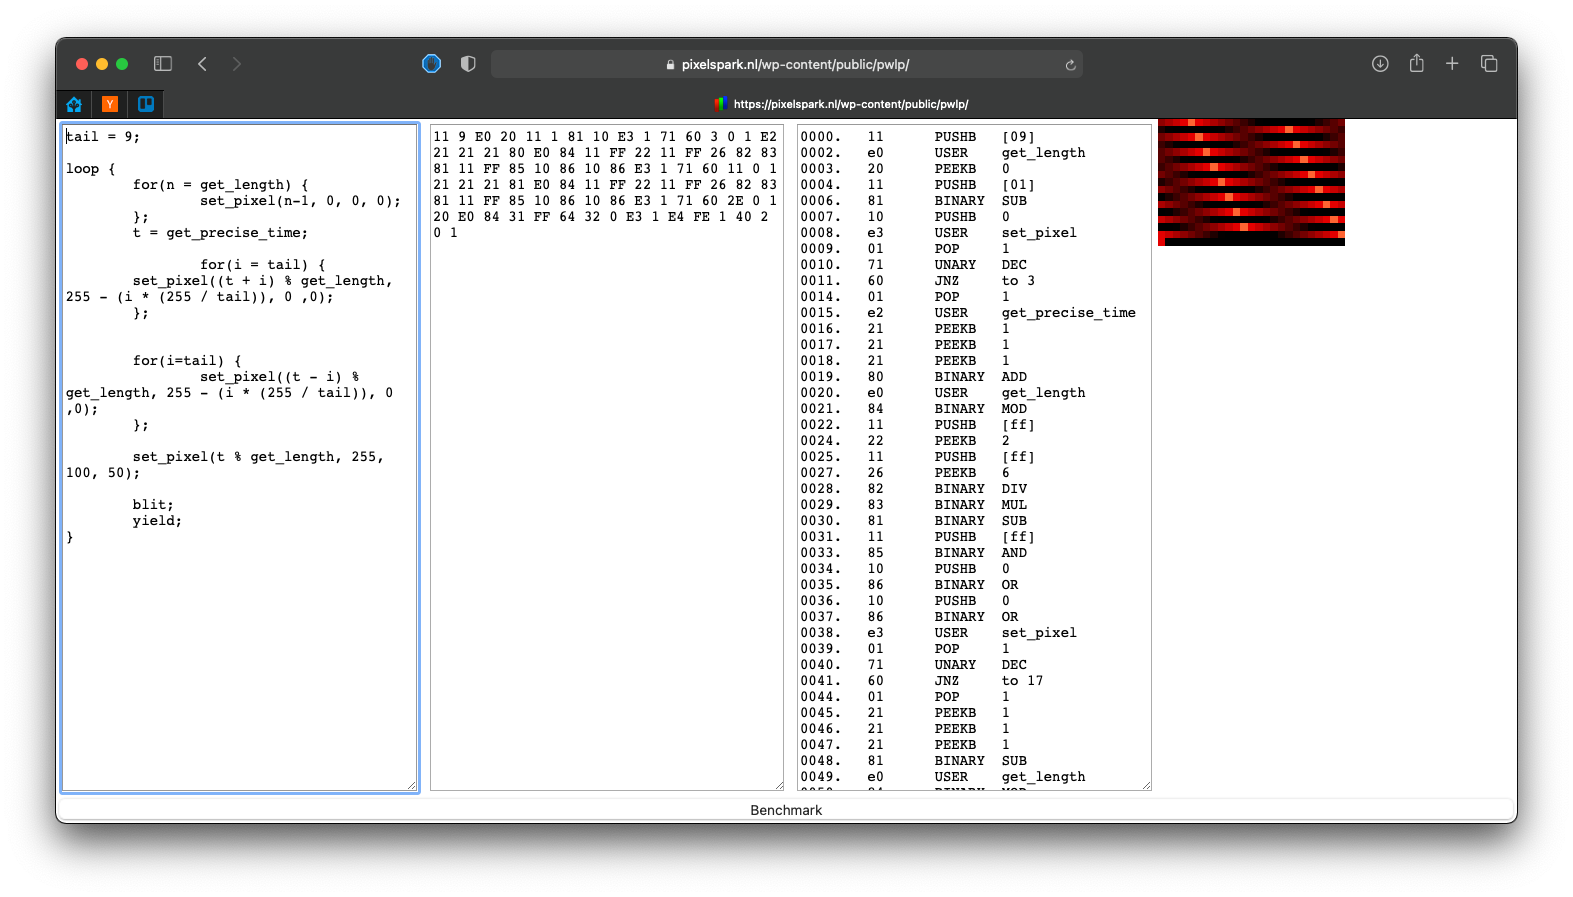
In the above, the ‘blit’ keyword tells the controller to send the LED strip ‘image’ created by the program (by calls to set_pixel) to the LED strip. The above program would effectively set all LEDs to yellow (RGB 255, 255, 0). The byte code for this program is as follows:
 e0  USER    get_length
 20  PEEKB   0
 11  PUSHB   [01]
 81  BINARY  SUB
 31  PUSHI   [ff, ff, 00, 00]
 e3  USER    set_pixel
 01  POP 1
 71  UNARY   DEC
 60  JNZ to 1
 01  POP 1
 e4  USER    blit
17 bytes! (note that this works for strips of any length too. Nice.).
Executing this code on an ESP8266 is very simply done using a for loop that iterates over the instructions, a giant switch statement that determines which instruction it is (based on the first nibble). The stack is simply an array of 32-bit integers with a separate value pointing at the last inserted item. Finally, there is a buffer for the LED data to be written to (by set_pixel). Even with this naive approach it is possible to reach a fairly high number of frames per second (of course depending on the amount of instructions that need to run between each frame). Currently this part is written in C++ using the Arduino toolkit, so it should be fairly easy to integrate it with ESPHome at some point.
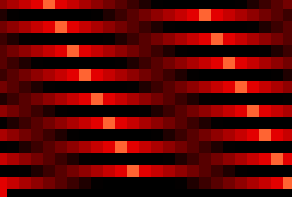
The compiler, being written in Rust, was easily ported to WebAssembly. As this executes at near-native speeds it is capable of parsing programs as you type them in the browser. An online demo can be found here (which includes a nice simulation of what the LED strip would show executing the program).